In Part 1, we saw DeepSeek in the cloud. Bedrock handled the weight, scaled the compute, and gave us a sleek, managed interface to explore the model’s power—all buttoned up in AWS-grade polish.
But now, it’s time to pull the plug—literally.
No consoles. No surprise costs. No “Your session will start shortly.”
Just you, a terminal, and a language model quietly sitting in your machine, waiting to be unleashed.
This isn’t just fun—it’s freedom.
In this part, we’re going fully local. We’ll run DeepSeek using a tool called Ollama, turning your laptop (or server) into a private LLM playground. Think of it like strapping a jet engine to your dev environment — minus the cloud bill.
And here’s the kicker: this isn’t limited to laptops. The same setup can be extended to EC2, ECS, or any on-prem rig, giving you a fully private, production-ready LLM — one that you own, control, and can lock behind your own firewalls.
If the cloud was convenience, this is sovereignty. Let’s light it up!
Running DeepSeek Locally with Ollama
Now for the DIY enthusiasts: running an LLM on your own machine. This can be intimidating because of the hardware requirements, but it’s getting easier every day thanks to projects like Ollama. Ollama is an open-source tool that makes it super simple to download and run large language models on your computer. It handles a lot of the heavy lifting (like managing model files, running a server, and even providing a web UI). Ollama can act as your personal “AI engine” – kind of like having a mini AI, but on your laptop!
Here’s how I got DeepSeek working locally with Ollama:
1. Setting Up Ollama
Install Ollama: Ollama supports MacOS and Linux natively, and Windows via WSL or a preview build. On Mac, the easiest way is Homebrew: brew install ollama. On Linux, you can use Docker (or there are .deb packages for some distros). I went the Docker route, which was as simple as running:
docker run -d -v ollama:/root/.ollama -p 11434:11434 –name ollama ollama/ollama
This pulls the latest Ollama Docker image, runs it in the background (-d), and opens port 11434 which Ollama uses to serve its API/UI. We also mount a volume for model data (-v ollama:/root/.ollama) so that models you download are persisted on your disk (so you don’t have to re-download every time you restart the container). If you have a GPU and want to use it, add –gpus=all to that command – Ollama can then utilize your NVIDIA GPU to speed up inference. I didn’t have a beefy GPU on my machine, so I ran on CPU which works but obviously slower.
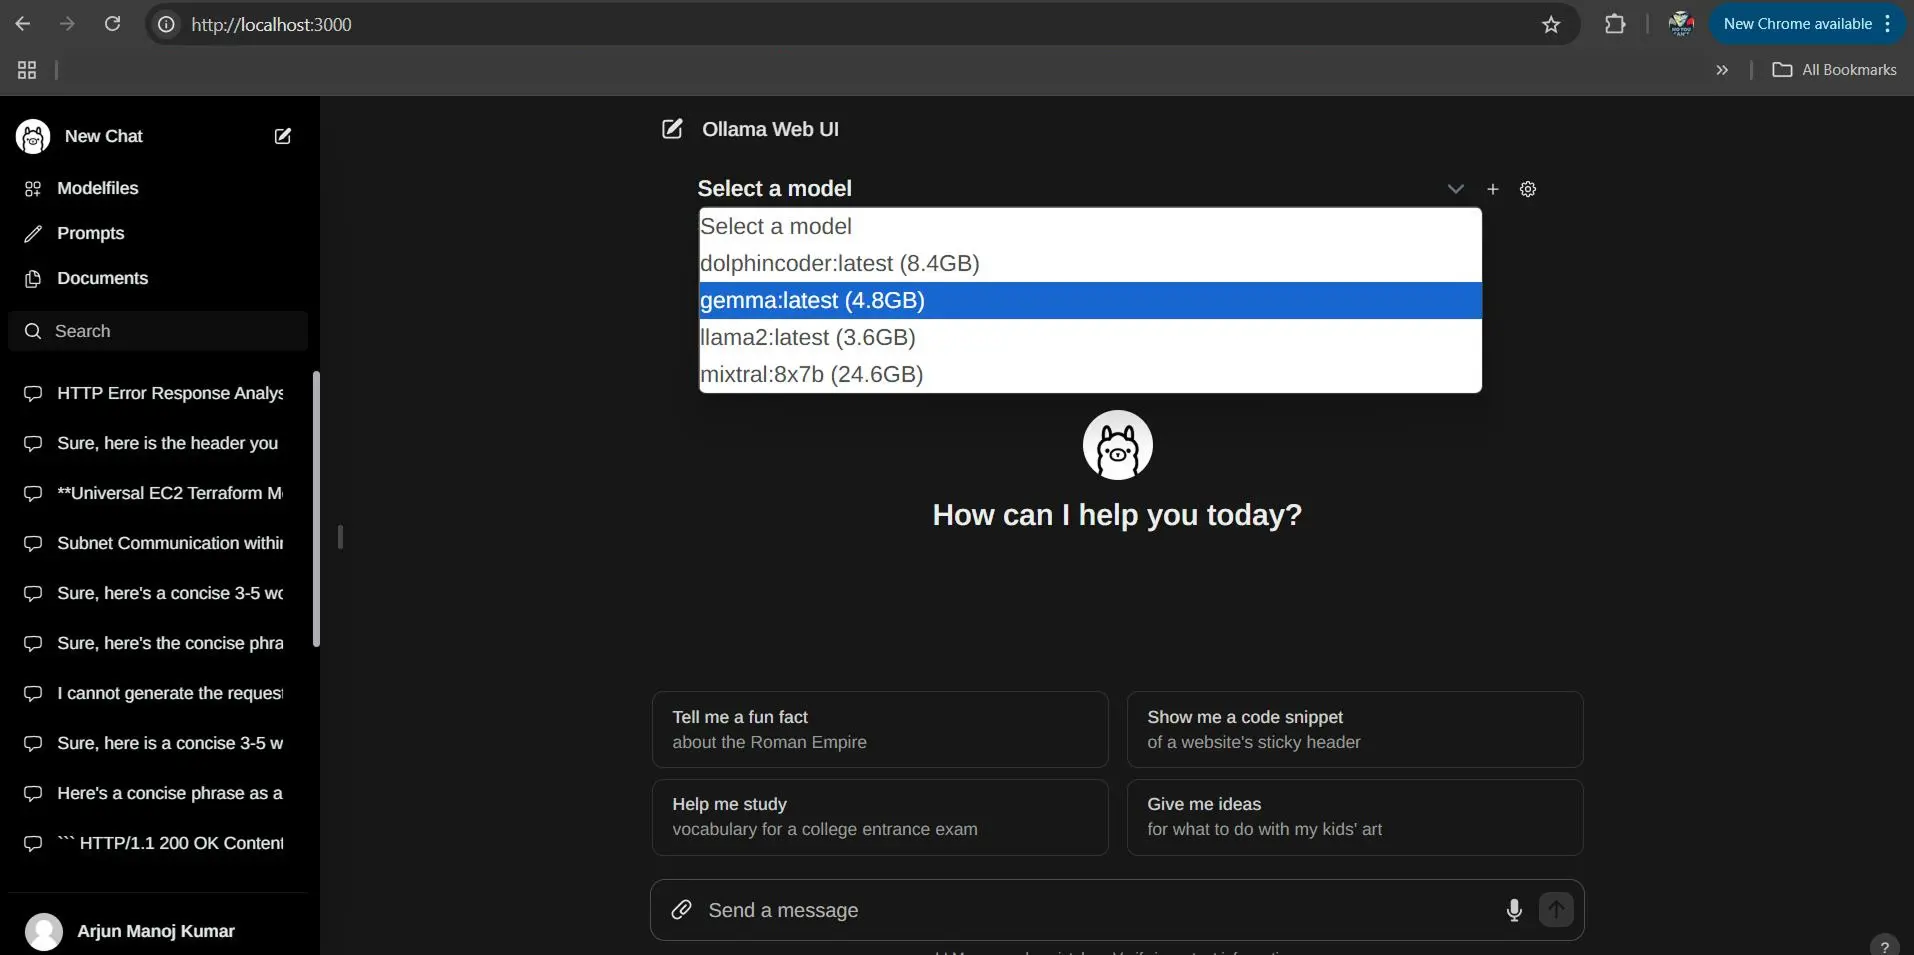
Ollama also has a simple web interface: if you visit http://localhost:11434 in your browser, you should see a minimal UI where you can select and chat with models. (When no model is loaded, it’ll just be empty or show an example to install one.)
2. Obtaining the DeepSeek Model Weights
Here’s the part where many people get stuck: you need the actual model files to run an LLM locally. These files can be large. The full DeepSeek-R1 model is huge (dozens of GB), so as mentioned we’ll use the 8B distilled version. Even 8B can be multi-gigabyte, but it’s manageable.
Quantization: To make models feasible to run on typical hardware, people often use quantized versions. Quantization means reducing the precision of the model’s numbers (e.g., from 16-bit floats to 4-bit integers), dramatically shrinking the size with only minor loss in accuracy. There’s a popular format called GGUF (a variant of the GGML format) which is great for local models. In fact, Ollama works natively with GGUF models. Many community model providers (like TheBloke on Hugging Face) release LLMs in GGUF format for easy local usage. I looked for DeepSeek-R1 in GGUF form and found one. You might find it on Hugging Face under a repository like unsloth/DeepSeek-R1-GGUF or similar.
Tip: If you have ollama CLI installed, you could also try ollama pull deepseek (if someone has published a model with that name in the Ollama library). At the time of writing, DeepSeek isn’t (yet) one of the default library models, so we do a manual import.
For Deepseek Ollama checkout https://ollama.com/library/deepseek-r1
3. Running Inference Locally with Ollama
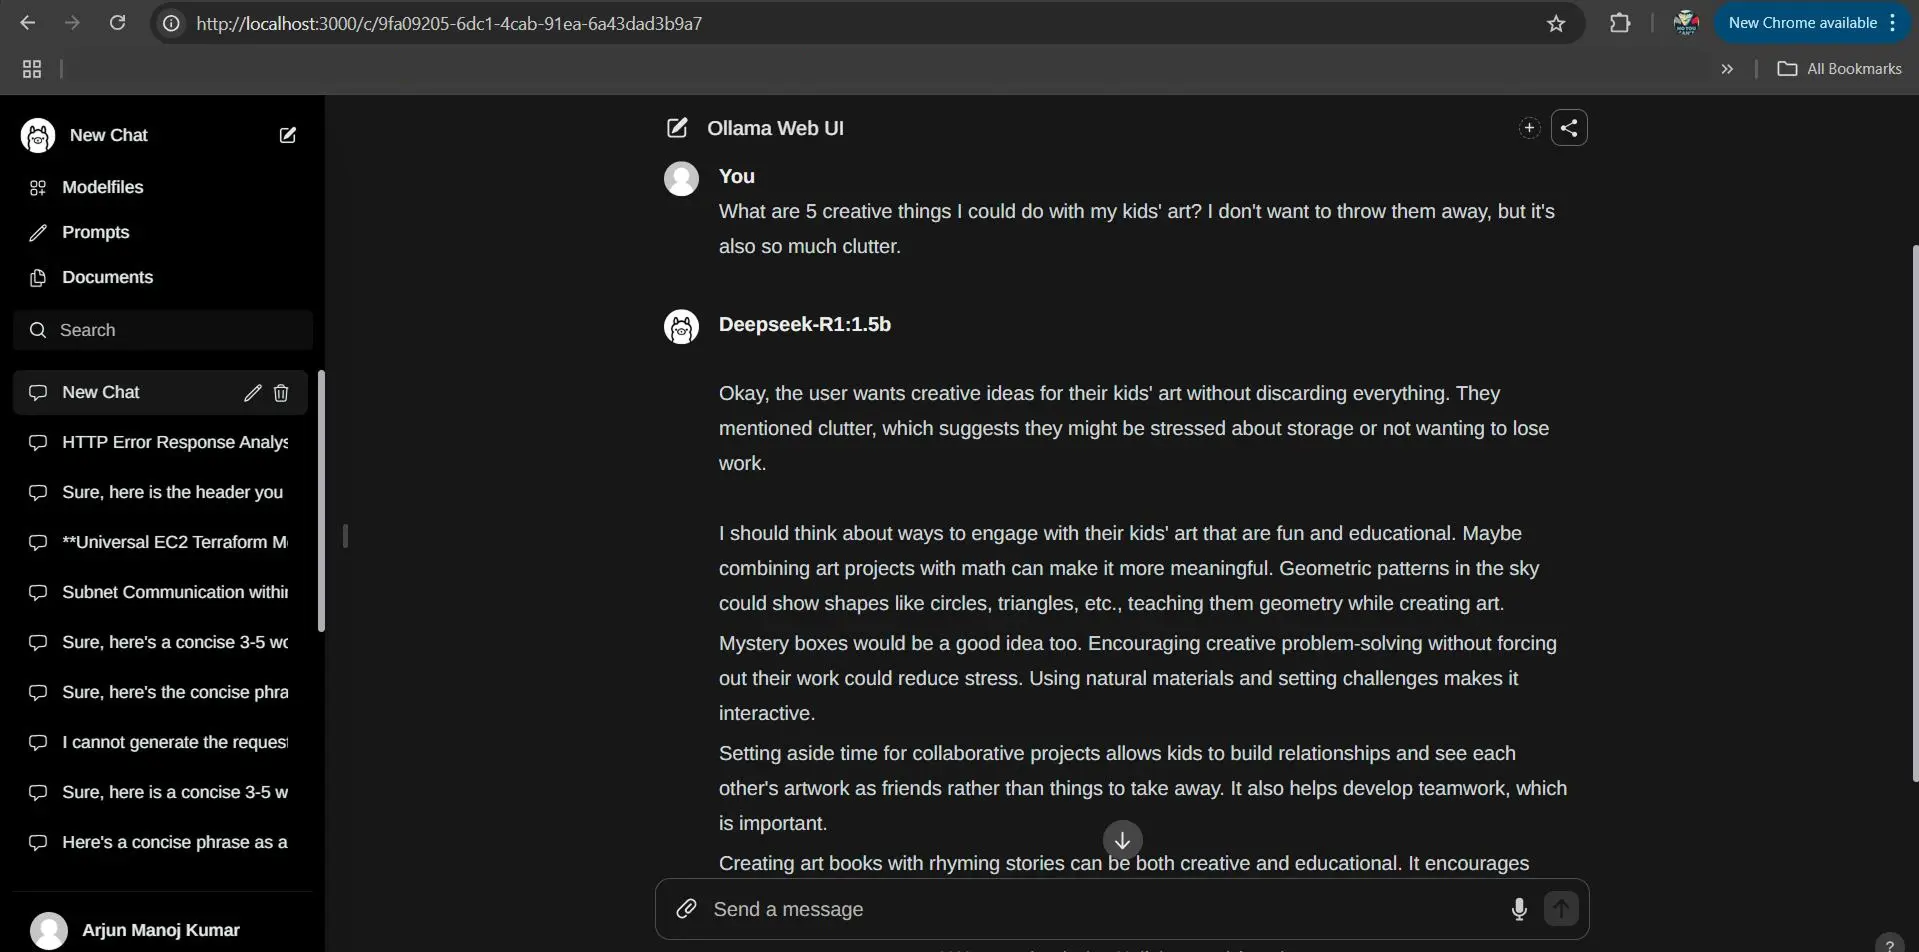
Now for the exciting part: actually chatting with DeepSeek locally! To start using the model, you simply run:
ollama run deepseek-r1
This will initiate the model and drop you into an interactive prompt (a bit like a REPL or a chat interface in your terminal). The first time it loads the model, you’ll see it allocate memory and it might take a few seconds to warm up those billions of parameters. Once it’s ready, you’ll get a prompt where you can type. Try an example: “Hello, what is the capital of France?” and hit enter. DeepSeek (running entirely on your machine now) will think for a moment and then hopefully respond with “The capital of France is Paris.” – or perhaps a slightly longer explanation, depending on how it was configured to respond. Usually if we create a modal on our own at this first test you might find modern art-like sentences which I do not understand much
I was giddy the first time I saw a serious LLM generating text on my humble machine [16 GB RAM without GPU] without any cloud services involved. It truly feels like having a pet genie in your computer.
You can have a multi-turn conversation by continuing to type prompts. Ollama will by default handle the conversation context for you, up to whatever the model’s context length is (often these GGUF quantized models support 2048 or 4096 tokens context by default, though some might go higher). Keep in mind, all the computation is happening on your hardware now, so don’t expect lightning speed unless you’ve got a monster rig. On my test with a 7B model on CPU, simple questions took a few minutes, while complex requests might take more for a few hundred tokens of answers. If you have a decent GPU and enable it, times will be much better.
System Requirements & Limitations: What kind of system do you need to do this comfortably? There’s no one-size answer – it depends on model size and quantization. Generally, the more RAM the better. For an 8B parameter model, if it’s 4-bit quantized, you might only need ~4-8 GB of RAM free. My HP Pavilion with 16GB RAM could handle it, but it was using a big chunk of memory. If you try a 30B model, you’d likely need 16GB+ RAM and a lot of patience (or ideally a GPU with at least 15-20 GB VRAM if running 4-bit). Always check the model documentation; many community sharers will note recommended RAM. As a rule, start with smaller models (7B, 13B) and work your way up. It’s amazing what even a 7B model can do nowadays.
it’s incredibly empowering to run LLMs locally. No API costs, no rate limits, and you can even hack the model if you’re into that (for example, applying fine-tuning or feeding it custom data). But that’s a story for another day!
Cloud vs Local – Which to Choose?
We’ve successfully run DeepSeek on AWS Bedrock and our local machine via Ollama. Give yourself a high five!! That was a lot to cover. By now, you’ve seen that there are trade-offs between the two approaches:
- AWS Bedrock (Cloud): Huge advantages in ease of use. You get scalability, power (use large versions of the model with long context lengths and strong performance), and managed security (data stays under your control with AWS’s policies, plus guardrails to filter outputs). The downside is cost – you pay per request/token, so heavy usage can rack up a bill. Also, you need an internet connection and for some folks, dealing with AWS setup might be a bit of a learning curve (though we hope our steps made it clearer).
- Ollama (Local): You have full control and privacy (your data never leaves your machine). It’s essentially free after the upfront hardware investment. It’s great for development, prototyping, or just tinkering with AI for learning. You can even use it offline. The challenges are the hardware limits – you can’t easily run gigantic models if your computer can’t handle them. Inference will be slower than on cloud GPUs. And sometimes you have to jump through a hoop (like converting models to the right format) – though projects like Ollama are smoothing that out rapidly, Also you can design an private architecture using Ollama in EC2 or container environments.
Conclusion – Part 2: The Model in the Machine
So there it is. You’ve come full circle — from invoking DeepSeek through a cloud API to summoning it straight from your SSD.
No more waiting for tokens to drip in from the internet.
No more wondering if you’ve hit your rate limit. Just your local compute, spinning up billions of neurons at your command.
It’s not perfect — sure, it might be slower, and your laptop fan may nConclusion – Part 2: The Model in the Machine ow sound like a mini jet engine. But it’s yours. And it’s powerful.
This opens up new ways to build — offline-first apps, privacy-heavy experiments, or even fine-tuned niche models stitched together into your own Frankenstein stack
The cloud was Act One. Local is the twist. And what comes next? That’s entirely up to you. !
In reality, you’ll probably use both setups depending on the need: Bedrock for fast, production-grade delivery and Ollama (or EC2-based local deployments) when you want full control, offline capability, or air-gapped privacy.
If you’re building something more secure, spinning up an on-prem rig or EC2 instance with DeepSeek gives you a private LLM pipeline with zero data leaving your infrastructure.
It’s like having your own Jarvis — only quieter, and hopefully not plotting your downfall.
“As for me? I keep wondering — do we really need 600B+ parameter models, when we can run smaller, purpose-driven ones and stitch them together like modular AI legos?
Might sound simpleton, but that’s where my head’s at.”
P.S. A huge shoutout to the minds who’ve made my diving into LLMs a whole lot more accessible and inspiring — special thanks to Chip Huyen for her clear writing and practical perspectives, and to Andrej Karpathy for always making the complex feel intuitive.
Thanks for reading! Got stuck or curious? Ping me — happy to help.
Now if you’ll excuse me, my laptop’s trying to explain quantum physics to my coffee mug.